The vegetable garden notebook / Crops
Sowing tomatoes: preparing seedlings without sowing too early
Before sowing your tomatoes, plan where the young seedlings will grow and when they can be moved to the garden. A few well-monitored pots are better than a seed tray that becomes too cumbersome.
Adapt this guidance to your garden’s climate and conditions.
When to sow tomatoes indoors?
Start by estimating when your garden will be able to accommodate the seedlings: frost should no longer be a risk, as the SNHF reminds us, and the soil must have had time to warm up, as specified by the University of Minnesota. Your local climate and the conditions of the year matter more than a national date.
Minnesota suggests a benchmark of five to six weeks before outdoor planting. Use this as a planning basis to adjust to your growing conditions, also allowing for hardening off at the end of the seedling stage. The organisation emphasises that starting earlier complicates seedling management without ensuring an earlier harvest.
Before filling the pots, reserve their future space: each seedling kept will need its own pot. Most importantly, check the light. A window that merely looks bright may not provide enough light; the University of Maryland describes seedlings that stretch towards the light when it is lacking. If your setup is limited, sow fewer seeds.
Preparing pots and sowing
For a small batch, you can sow one seed per cell or small pot. Prepare clean, perforated containers and fresh seed compost. Fill the pots and moisten the compost before sowing. Allow excess water to drain. These steps follow the Minnesota indoor sowing guide.
- Check the seed packet. Identify the variety and its sowing instructions.
- Place the seed shallowly. Minnesota indicates a quarter of an inch, or approximately 6 mm. Use this benchmark if the supplier does not specify otherwise.
- Cover and moisten gently. Avoid displacing the seed.
- Label. Note the variety, date, and number of seeds sown.
- Place in warmth. The SNHF describes growing in pots at 20 °C.
The general sowing guide explains the differences between direct sowing and starting in containers.
Monitoring emergence and pricking out at the right stage
If you use a transparent cover to retain moisture, remove it as soon as the seedlings appear. The RHS reports that seedlings usually emerge in less than two weeks under the warm conditions it describes.
Immediately place the young seedlings in a very bright location. For watering, Minnesota recommends maintaining moisture and emptying excess water from the tray. Check the compost before each watering.
The cotyledons are the first leaves produced from the seed. The true leaves appear next between or above them: these are the ones used as a benchmark for transplanting, as explained by Maryland.
If you sowed in a seed tray, the RHS advises separating the seedlings when they have two true leaves. Use a small stick to lift each seedling with a little compost around its roots, hold it by a leaf, and avoid grasping its fragile stem. Place it in an individual pot.
If several seedlings occupy the same pot, keep only one. After the true leaves appear, Minnesota advises cutting the excess seedlings at compost level with scissors to avoid damaging the roots of the remaining seedling by pulling them out.
Preventing damping off
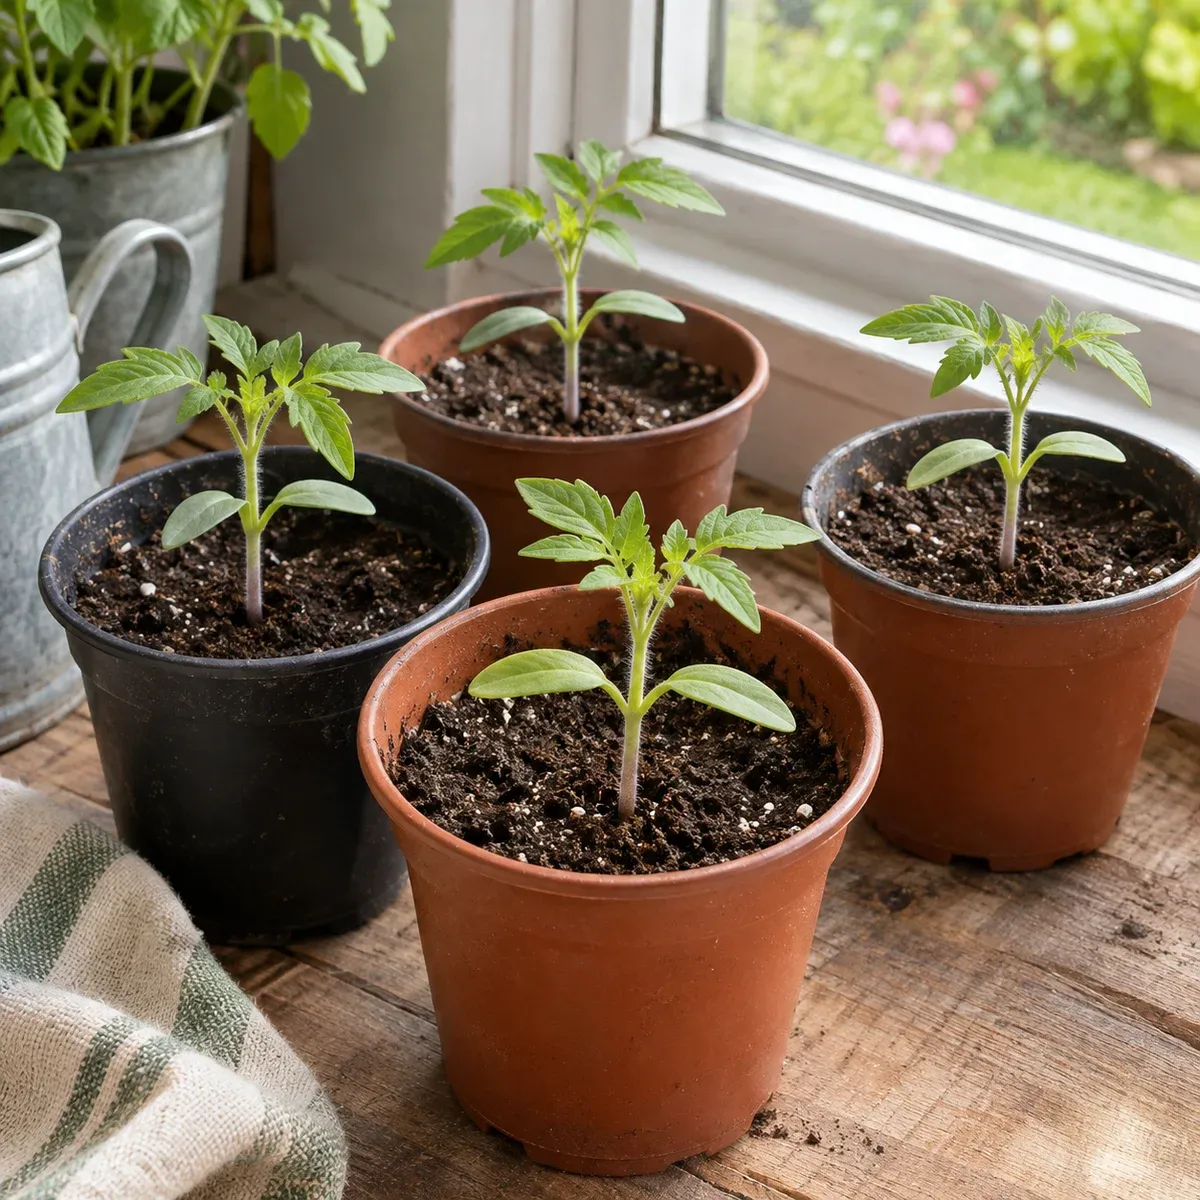
Damping off can prevent seedlings from emerging or cause young seedlings to collapse. Excessive moisture, poor ventilation, and dense sowing encourage it. The RHS recommends clean containers, fresh growing compost, sparse sowing, and measured watering.
A collapsed seedling is not sufficient to identify the cause. Observe the stem, compost, and neighbouring seedlings before concluding. If damping off is identified, the RHS advises against reusing the affected pots or trays. To start again, use a different container and fresh compost.
Acclimatising seedlings to the outdoors
Before planting, make a gradual transition. The RHS generally suggests two to three weeks of acclimatisation, to be adapted to initial conditions and the weather.
Start by putting the seedlings outside during the day in a sheltered spot away from wind and protected from strong sun, then bring the pots back inside at night. Gradually increase exposure. If the cold returns, slow this progression and keep the seedlings sheltered.
Acclimatisation does not make a tomato frost-resistant. The end of this stage is therefore not sufficient to allow planting: reassess outdoor conditions. Note when you first put the seedlings outside and the actual planting date to better prepare for the following season.
To proceed with planting out, review the tomato planting conditions, then the preparation and planting steps. These checks build on hardening off; it is not simply a matter of counting the weeks since sowing.
The steps in pictures
Tomato: identify the leaves before transplanting
1 At the start of emergence
The first leaves from the seed: smooth and elongated.
2 Two true leaves appear
The two smooth leaves at the bottom are the cotyledons.
Tomato sown in a seed tray: this is the stage for pricking out into individual pots.
Illustrated example: leaf shape varies by variety. Watch for the leaves to appear and count the true leaves.
To move the seedling: hold a leaf and support the small root ball with a stick. Do not use the stem as a handle.
Cotyledons are the first leaves from the seed. True leaves develop afterwards. For tomatoes sown in a seed tray, the RHS recommends pricking out into individual pots at the two-true-leaf stage. Lift the small root ball with a stick and hold the seedling by a leaf.
Hold the seedling by a leaf to protect its fragile stem. Harden off the plants before moving them outdoors after the risk of frost has passed.
Based on Maryland, cotyledons and true leaves · RHS, tomato transplanting · RHS, hardening off.
Key points for this crop
Practical guidance
- Start
- Indoors, in warmth
- Indicative depth
- Approximately 6 mm, check the seed packet
- After emergence
- Plenty of light, without excess water
- Before moving outside
- Gradual acclimatisation; avoid frost
Sources and references
- TomatoSociété nationale d’horticulture de France (SNHF), Jean-Marc Muller Accessed on 15 October 2026.
- Growing tomatoes in home gardensUniversity of Minnesota Extension, in English Accessed on 15 October 2026.
- Starting Vegetable Seeds IndoorsUniversity of Maryland Extension, Jon Traunfeld, in English Accessed on 15 October 2026.
- Starting seeds indoorsUniversity of Minnesota Extension, in English Accessed on 15 October 2026.
- How to grow tomatoesRoyal Horticultural Society (RHS), in English Accessed on 15 October 2026.
- Damping offRoyal Horticultural Society (RHS), in English Accessed on 15 October 2026.
- Hardening off tender plantsRoyal Horticultural Society (RHS), in English Accessed on 15 October 2026.