The vegetable garden notebook / Techniques
Sowing Seeds: Preparing the Session and Monitoring Each Batch
Prepare a record sheet for each variety before taking out the seeds. It will help you track what you planned, what you actually did, and the next step to check.
Adapt this guidance to your garden’s climate and conditions.
Practical steps
- Prepare the record sheet
Identify the variety, its intended location, and its sowing instructions.
- Set up the session
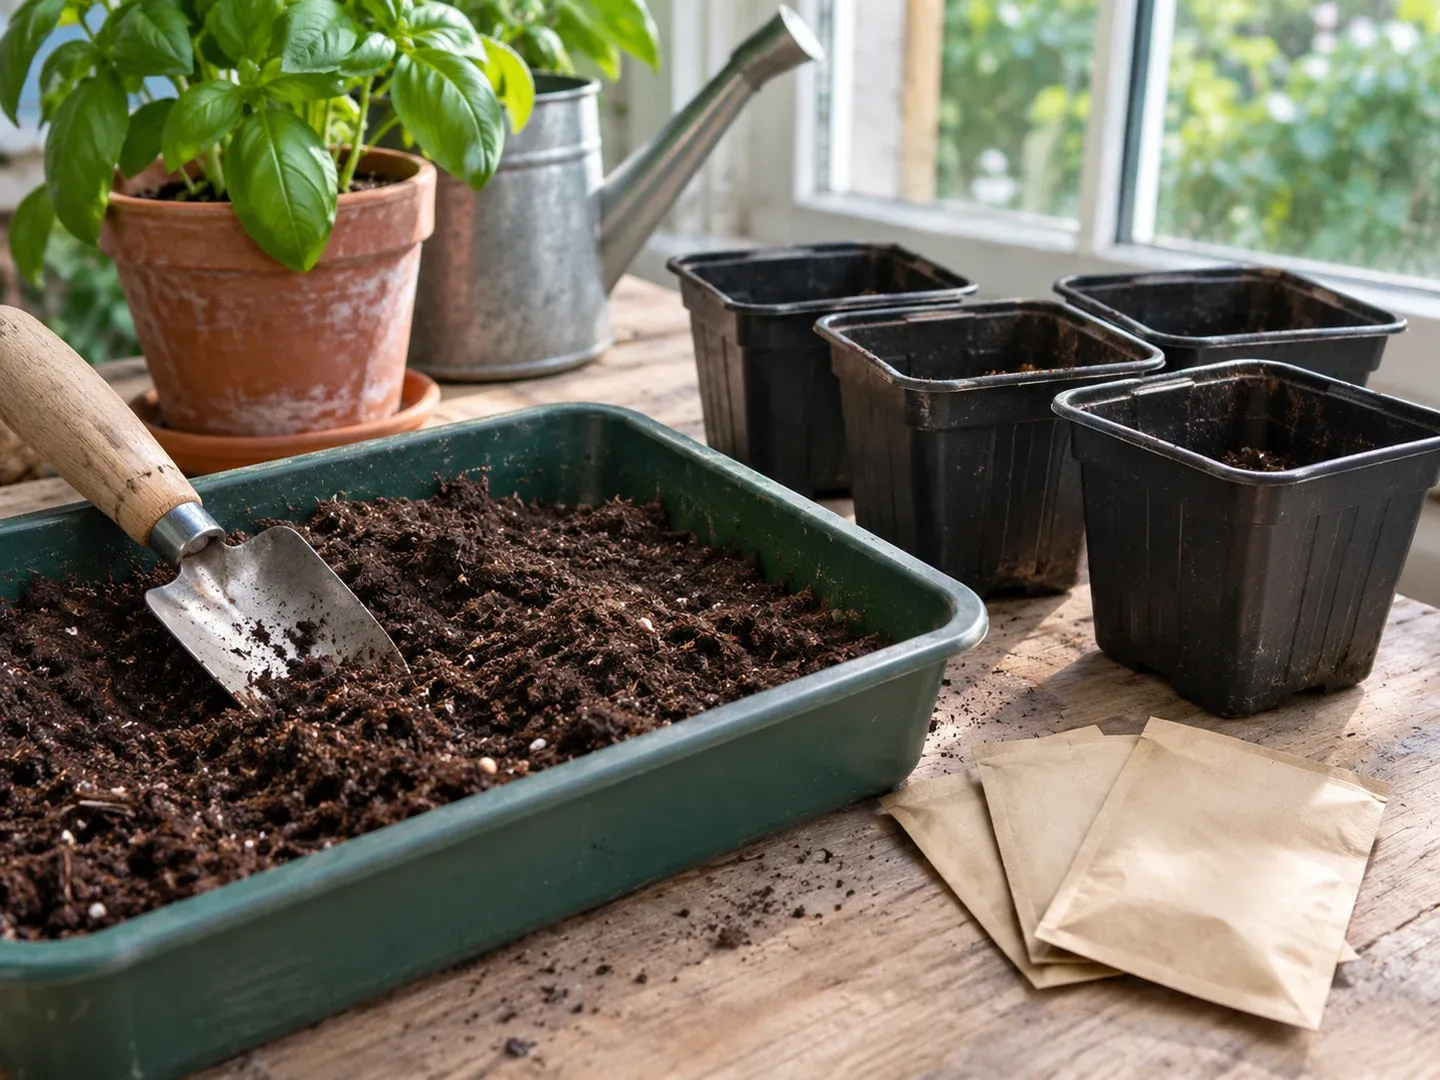
Gather containers, growing medium, water, labels, and seed packets.
- Sow one batch at a time
Complete and label each variety before moving on to the next.
- Decide on the next steps
Monitor seedling emergence and distinguish between thinning, pricking out, and potting on.
Prepare a record sheet for each variety
This sheet accompanies a container-sowing session and its first weeks of monitoring. If you are still deciding between direct sowing and starting in pots, begin with the general sowing guide. The RHS distinguishes carrots sown directly in their final location from vegetables raised in containers before planting: the process below is therefore not a mandatory step for all crops.
For each batch—a variety sown on the same day—copy these fields into a notebook:
- Identity: species, variety, seed packet reference, and date of the session.
- Destination: final location and number of plants you wish to establish there.
- Instructions to check: suitable period for your situation, depth or surface sowing, spacing, germination requirements, and indicative timeframe if provided.
- Organisation: chosen container, location during emergence, and available space for subsequent growth.
- Next step: thin out, separate seedlings, or move an entire root ball, depending on the crop and sowing method.
Keep the seed packet with this record sheet. The RHS advises verifying the specific requirements of the seeds; do not substitute missing information with the depth or temperature for another species. For a batch of tomatoes, the tomato sowing guide provides the relevant guidelines.
Check materials and space before starting
Gather the seed packet, labels, a pencil, a fine-rose watering can, containers, and a growing medium suitable for sowing. This list covers the basic materials recommended by the RHS.
Pay particular attention to three points:
- Water can drain away. Use clean containers with drainage holes; a tray placed underneath is for collecting water, not for keeping pots submerged. The University of Maryland distinguishes these two uses.
- The container matches the planned next steps. Seedlings raised together in a tray will later need pricking out, provided the crop tolerates it; cell trays allow moving individual root balls with less root disturbance. RHS
- Space is not limited to the day of sowing. Set out the pots you will need later while they are still empty, to check where they will fit. The University of Minnesota notes that potted plants take up more space after potting on.
Write labels before opening the seed packets. If two batches of the same variety are to be compared, add a distinct marker, such as “A” and “B”, and explain it in the notebook.
Conduct the session, one batch at a time
- Prepare the growing medium. If it is dry, moisten it gradually in a container, then fill the containers and level without compacting heavily. It should be damp, not waterlogged. University of Maryland
- Re-read the instructions for this variety. Place the seeds and cover them only as indicated. Do not use the depth from the previous batch as a default setting.
- Water gently if necessary. Avoid displacing the seeds; the RHS also describes watering from below, then removing the containers from the water once the medium is moist. RHS
- Label immediately. Write at least the name and date, then record the number of containers and chosen location. Store this packet before opening the next.
At the end, verify that each container corresponds to a record sheet. Note any discrepancies between what was planned and what was done: copying instructions from the packet does not confirm they were followed.
Review when seedlings emerge
Keep one line per observation: date — what I see — action taken — point to revisit. “First shoots visible, cover removed” is more precise than “sowing successful”.
If you used a transparent cover for germination, remove it when seedlings appear, as recommended by the RHS for indoor sowings. Then provide a well-lit location suitable for young plants. To examine leggy, fragile stems, continue with the guide for leggy seedlings.
Check moisture before deciding to water. A simple misting can wet the surface while leaving the rest of the container dry; after watering, remove excess water accumulated in the tray. These are two key points from the University of Minnesota. Do not record “water” as an automatic task at each check.
Choose the appropriate care after emergence
Thinning involves removing excess seedlings to give the remaining ones space. Pricking out means moving an individual young seedling to another spot; potting on here refers to moving a plant with its root ball to a larger pot. The RHS distinguishes these operations: they do not form a mandatory sequence.
For vegetables sown together that tolerate pricking out, the University of Maryland recommends the intervention shortly after the first true leaves appear, distinct from the seed leaves. Prepare the new pots before lifting the seedlings. Support the roots with a small tool and, if you must hold the seedling, gently grasp a leaf rather than the stem. University of Minnesota
A seedling already alone in a cell does not need separating. Depending on the crop and time remaining before planting out, check how fully the roots have filled the container to decide whether to pot on. RHS
Complete the record sheet by noting the number of plants kept and their new location. Before planting outdoors, plan the gradual acclimatisation indicated by the RHS, then check the crop-specific conditions. The sowing date alone does not determine the planting day.
Sources and references
- How to sow seeds indoorsRoyal Horticultural Society (RHS), in English Accessed on 16 October 2026.
- Starting Vegetable Seeds IndoorsUniversity of Maryland Extension, Jon Traunfeld, in English Accessed on 16 October 2026.
- Starting seeds indoorsUniversity of Minnesota Extension, in English Accessed on 16 October 2026.
- Vegetable seeds: sowingRoyal Horticultural Society (RHS), in English Accessed on 16 October 2026.