The vegetable garden notebook / Crops
Sowing French beans: rows, clusters and seedling emergence
Plan your French bean sowing around the seed packet instructions and the state of the soil. Check whether the variety is dwarf or climbing, install any supports it needs, then wait until the soil has warmed up and lost enough excess water to be worked.
Adapt this guidance to your garden’s climate and conditions.
Wait for the soil to warm up and drain of excess water
Sow outdoors once the risk of frost has passed: frost damages French bean tissues. The SNHF recommends 15 to 18 °C in the soil as an indicator of sufficiently warmed ground. A mild afternoon alone does not provide information on soil temperature. University of Maryland
Also check the moisture level. Soil that is ready to work has lost its excess water; it is not necessarily dry. If it is still waterlogged, or if clay soil is sticky and smears when worked, wait before preparing it. The RHS advises against working such soils when too wet.
Do not assume seeds can sit safely in cold soil: the University of Minnesota notes that they may rot instead of germinating. To determine if the season still allows time for a new sowing, consult the page on the final sowing date for French beans.
Prepare rows and supports before opening the seed packet
Choose a sunny, well-drained location. For climbing varieties, first install stable supports: tied bamboo canes or trellises. The RHS recommends putting these up before sowing.
Weed the area and loosen only what is necessary for sowing. It is not essential to turn over the entire bed: the RHS also describes sowing in undug soil, previously cleared of weeds and loosened if needed.
The SNHF specifies 40 to 50 cm between rows of dwarf beans and 70 to 80 cm between rows of climbing beans. These measurements refer to the rows: they do not indicate spacing between seeds or clusters. Follow the spacing indicated for your variety and leave room for maintenance.
Sow in rows or clusters
In rows, seeds are spaced individually along the line. In clusters, they are grouped in small holes. The University of Minnesota describes the following methods:
- Dwarf in rows: seeds spaced approximately 10 cm apart, a rounded conversion of its 4 inches.
- Climbing on supports: two to four seeds at the base of each support; with a trellis, it also describes sowing a row in front of it, with seeds approximately 10 cm apart.
These are examples of methods, to be compared with the seed packet instructions. Spacing intended for individual seeds does not automatically become spacing between groups of several plants. Check before sowing what each measurement refers to: seeds, clusters, supports, or rows.
How deep should seeds be placed?
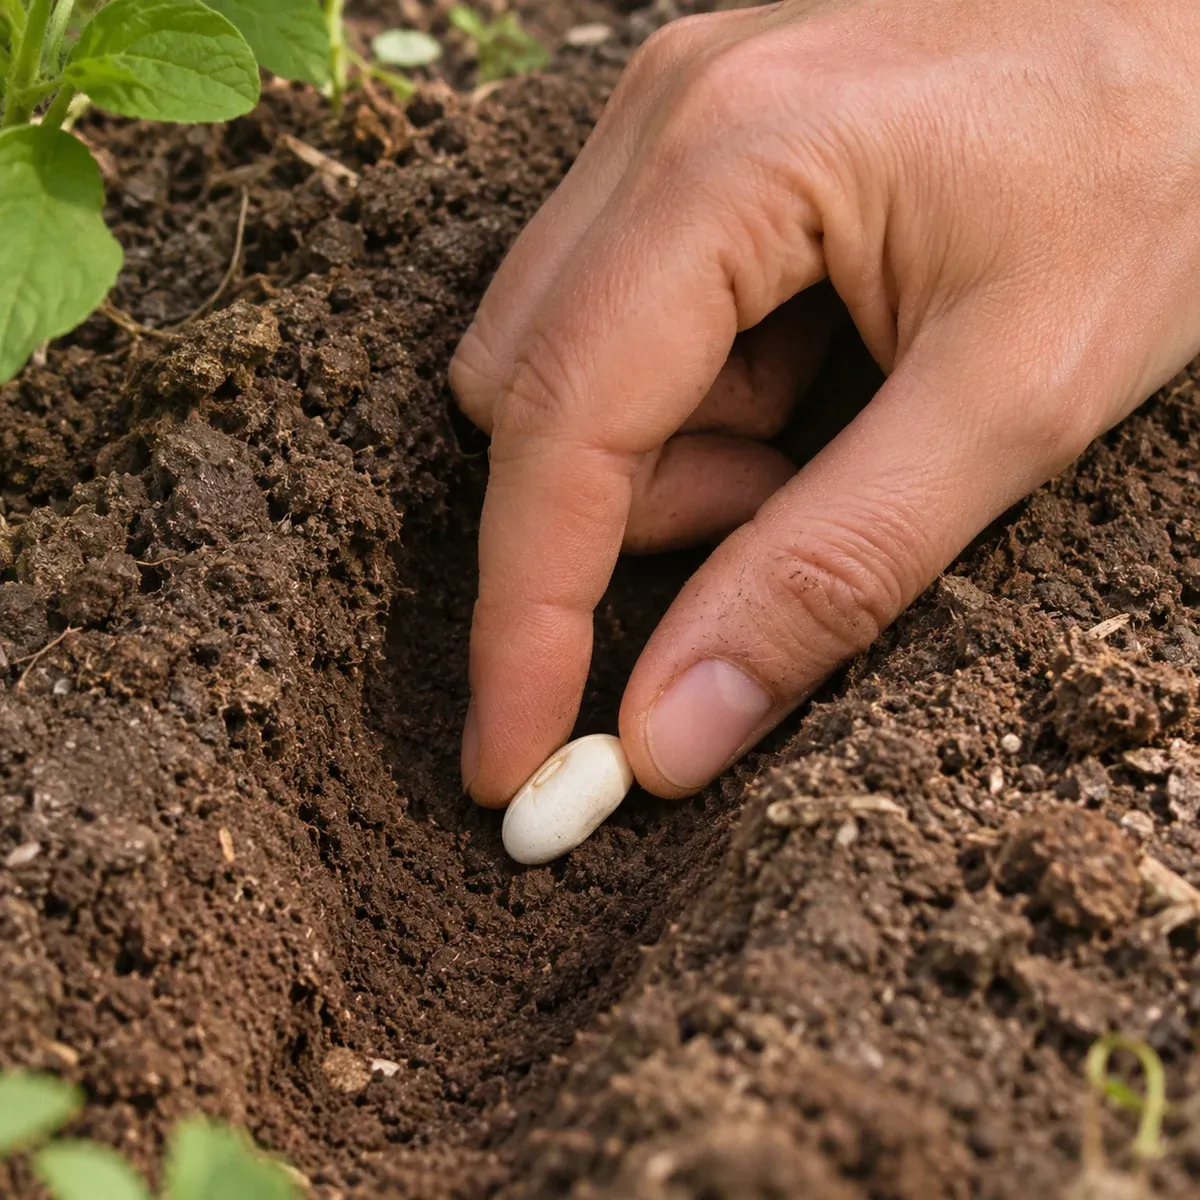
First, follow the variety’s instructions. If following the Minnesota method described above — seeds spaced in rows or at the base of supports — the depth is approximately 2.5 cm, a rounded conversion of one inch. The source advises sowing small seeds less deeply than large ones and prioritises the packet’s instructions. Minnesota
The RHS describes another method, at 5 cm for direct sowing. The sources consulted do not establish that this difference follows a firm rule about heavy versus light soil. Do not average the two or combine depths: follow your seed packet or the method you have chosen from one of the named sources. The SNHF mainly provides the soil temperature guideline and row spacing here. RHS · SNHF
Make the furrow or holes at the chosen depth, place the seeds, then cover them with soil. Immediately label the row with the variety and date. Also note the chosen depth: this will allow you to compare your trials without attributing all results to the calendar.
Help seedlings emerge and protect young plants
Keep the soil moist, without waterlogging, until seedlings appear, according to the University of Maryland. Check the soil before each watering. The aim is to prevent it drying out, rather than to water every day even after rain.
If birds pull up germinated seeds or seedlings, Maryland suggests using row cover. Use this protection for the observed problem; it does not replace monitoring for other damage. University of Maryland
Inspect young plants as soon as they appear: they are vulnerable to slugs and snails. The RHS suggests starting seeds in small pots under cover to keep young plants out of reach until they are stronger. Harden them off before planting outdoors once the risk of frost has passed.
Once the seedlings have emerged, remove competing weeds. If hoeing, stay near the surface to protect lateral roots close to the soil. University of Minnesota Note gaps in the row and actual damage before deciding on replacements. If no seedlings appear, follow the guide for seeds that do not germinate: an empty spot may mean a seedling never emerged or that it emerged and then disappeared, two situations to distinguish before resowing. The general French bean guide continues with cultivation and harvest.
Key points for this crop
Practical guidance
- Start
- After the risk of frost, in warmed soil
- Soil
- Free-draining; wait if it is waterlogged or sticky
- Spacing
- Seeds spaced in rows or small groups according to the chosen method
- Seedling emergence
- Keep the soil moist without saturating it
Sources and references
- BeansSociété nationale d’horticulture de France (SNHF), Jean-Daniel Arnaud Accessed on 16 October 2026.
- How to grow French beansRoyal Horticultural Society (RHS), in English Accessed on 16 October 2026.
- Growing beans in home gardensUniversity of Minnesota Extension, in English Accessed on 16 October 2026.
- Growing Beans in a Home GardenUniversity of Maryland Extension, in English Accessed on 16 October 2026.
- Soil: cultivationRoyal Horticultural Society (RHS), in English Accessed on 16 October 2026.