
The vegetable garden notebook / Techniques
Building a Wooden Raised Bed Directly on the Ground
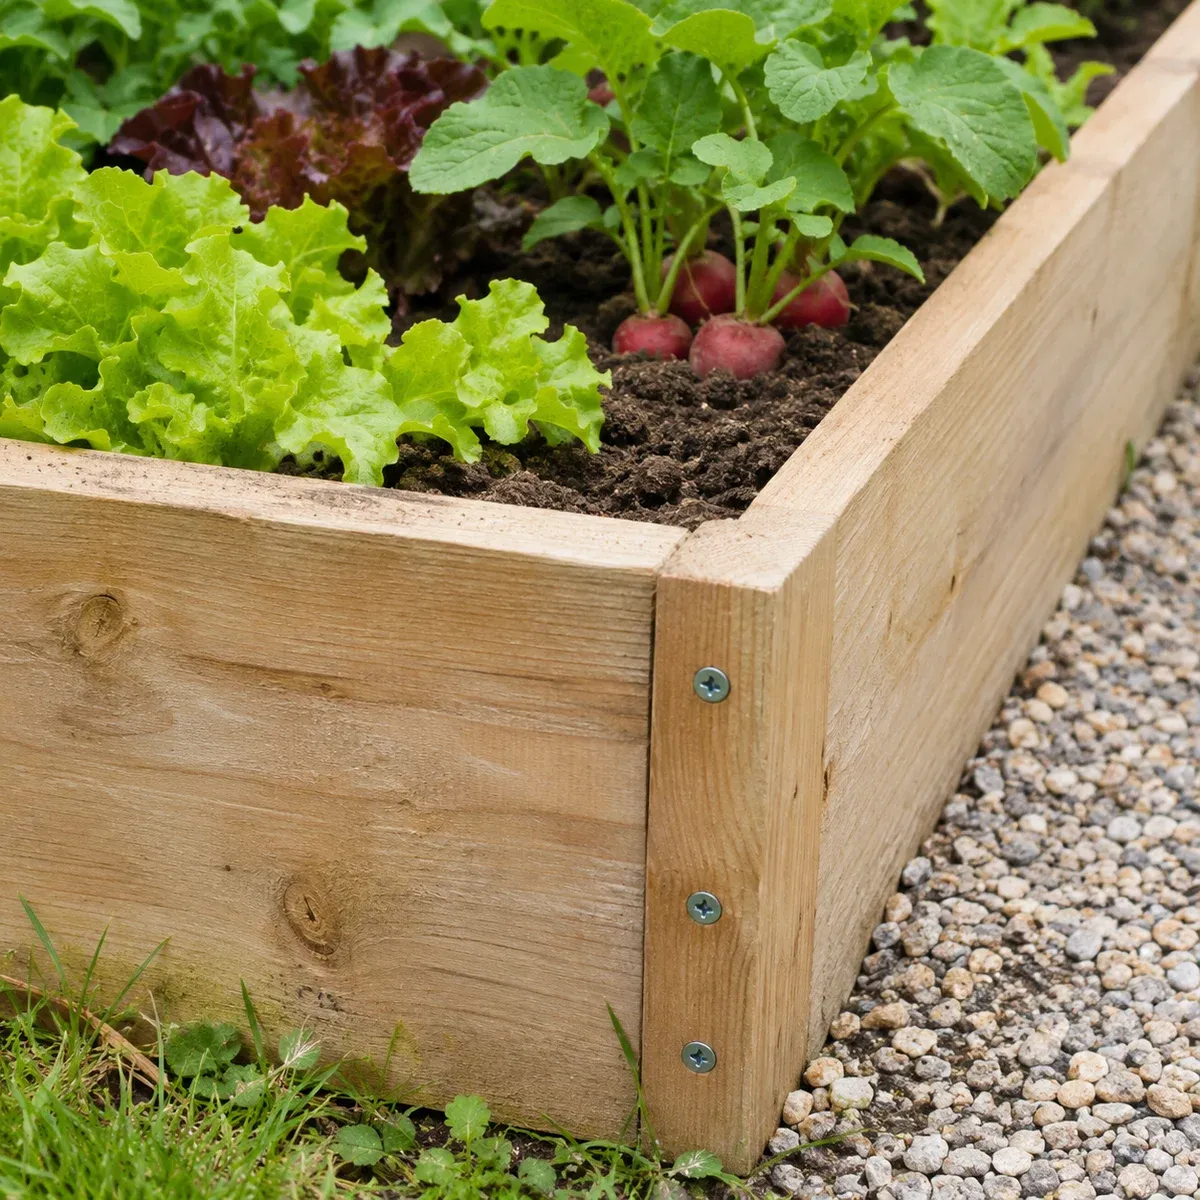
To build a raised bed, start with a low, bottomless frame placed directly on cultivable soil. Key considerations include access, materials of known origin, suitable assembly, and continuity with the ground.
Adapt this guidance to your garden’s climate and conditions.
Practical steps
- Measure
Test access, then distinguish between external dimensions and internal space.
- Prepare
Identify the wood, its actual thickness, and the fixings intended for assembly.
- Assemble
Lay a single level course of wood and check the angles before tightening.
- Fill
Keep the bottom open to the soil and select amendments based on the ground’s condition.
What Frame Will You Build?
The method below concerns a single course of thick wood laid directly on the soil, without a base. It follows the construction principle of the RHS. A bed on legs, a balcony installation, or a tall structure requires a different approach: begin with the guide for choosing an elevated vegetable garden.
The frame here serves to delineate a small cultivated area. Before ordering materials, mark its location on your vegetable garden plan, including pathways and water access.
Measure Access Before Cutting
Outline the future perimeter on the ground and attempt to reach its centre from the pathways. Perform this test in your usual working position. Thrive suggests benchmarks of up to 1 metre in width with access from both sides, or 50 centimetres if only one side is accessible. Your actual reach remains the criterion: reduce the frame if the movement becomes uncomfortable.
Record separately the external dimensions, the wood’s thickness, and the internal width available for growing. The same indication of “a 1-metre square” may refer to two different dimensions; specify which one you are using on your sketch and cutting list.
Prepare the Wood and Tools
Select four pieces of wood whose species, condition, and any treatments are known. For this initial frame, you may choose untreated new wood and plan to monitor its ageing. Avoid pallets, old railway sleepers, and other reclaimed materials with unknown histories. The University of Minnesota notes that treatments have varied and recommends avoiding old wood to limit associated risks.
Prepare a tape measure, set square, pencil, spirit level, stakes and string, spade, and fork. Add cutting tools if the wood is not delivered pre-cut, as well as a drill and fixings corresponding to the project.
Have the cross-sections, fixings, and their placement defined for the chosen wood and intended soil depth. A randomly selected screw length does not replace this verification. Follow the instructions for tools and fixings; a kit for a low bed with comprehensive instructions may simplify this preparation.
Calculate Lengths Without Forgetting Thickness
For a right-angle assembly where two opposite sides cover the ends of the other two, the pieces will not all be the same length.
Example calculation: for a square with 100 × 100 cm external dimensions, with an actual wood thickness of 10 cm:
- two pieces measure 100 cm;
- the two pieces placed between them measure 100 − 2 × 10 = 80 cm;
- the internal space measures 80 × 80 cm.
This calculation verifies only the geometry. The 10 cm thickness is illustrative data, not a specification for structural strength. The height, cross-section, and fixings must still be adapted to your project. If you change the joint type or add internal posts, redraw and remeasure before cutting.
Next, dry-fit the four pieces. Check the right angles and internal dimensions before final assembly.
Lay and Assemble the Frame
For thick wood such as sleepers, the RHS describes this sequence:
- Mark the perimeter and prepare a shallow base under the wood.
- Lay the pieces and check the level along their lengths and diagonally.
- Pre-drill the corner joints, then join the pieces with appropriate coach screws, at the top and bottom.
- In this shallow frame, remove any turf and lightly loosen the soil with a fork.
Do not apply this assembly method to thin planks without adapting their fixings. Avoid working on waterlogged or frozen soil. Before filling, check the level and ensure there is no play at the corners.
Keep the Bottom Open and Adapt the Filling
On cultivable soil, roots can extend beneath the frame. The University of Maryland recommends selecting amendments based on the existing ground. Check its drainage before filling; a border alone does not resolve standing water.
Keep the bottom open. If internal wall protection is planned, do not fold it into a watertight trough beneath the soil. On soil already in good condition, assess how much extra material is needed; on degraded ground, seek advice on the improvements needed. For purchased soil, ask about its origin and available analyses. No single soil-compost ratio suits all situations. University of Maryland
Estimate the volume to add using the internal dimensions: length × width × depth of the additional soil or growing medium, all in metres. Multiply the result by 1,000 to obtain litres. For example, 0.80 × 0.80 × 0.15 yields 96 litres before settling. The 15 cm here is an example for calculation, not a recommended depth for all vegetables.
Check After Installation
Allow the filling to stabilise before adjusting its level. Ensure the corners remain secure and the walls do not shift; repair any defect before proceeding with planting. Keep your sketch and material references to facilitate future replacements.
For cultivation, consult the guides on watering and mulching. The frame is complete when you can access the crops and monitor the soil easily, without stepping into the cultivated area.
Sources and references
- How to make a raised bedRoyal Horticultural Society (RHS), in English Accessed on 16 October 2026.
- Gardening in raised bedsThrive, in English Accessed on 16 October 2026.
- Raised bed gardensUniversity of Minnesota Extension, in English Accessed on 16 October 2026.
- Growing Vegetables in Raised BedsUniversity of Maryland Extension, Jon Traunfeld, March 2026 revision, in English Accessed on 16 October 2026.