The vegetable garden notebook / Techniques
Square vegetable bed: choosing the location, size, and crops
Choose a square vegetable bed to suit how you garden and the crops you plan to grow. Check access to the centre, light, and available soil before designing sections or ordering a raised bed.
Adapt this guidance to your garden’s climate and conditions.
Practical steps
- Observe
Identify sunlight, water access, and what lies beneath the planned bed.
- Test
Check your arm's reach and pathways in the intended working position.
- Size
Adapt the growing space and depth to the selected plants.
- Monitor
Check soil moisture and keep a dated plan of the crops.
What is a square vegetable bed for?
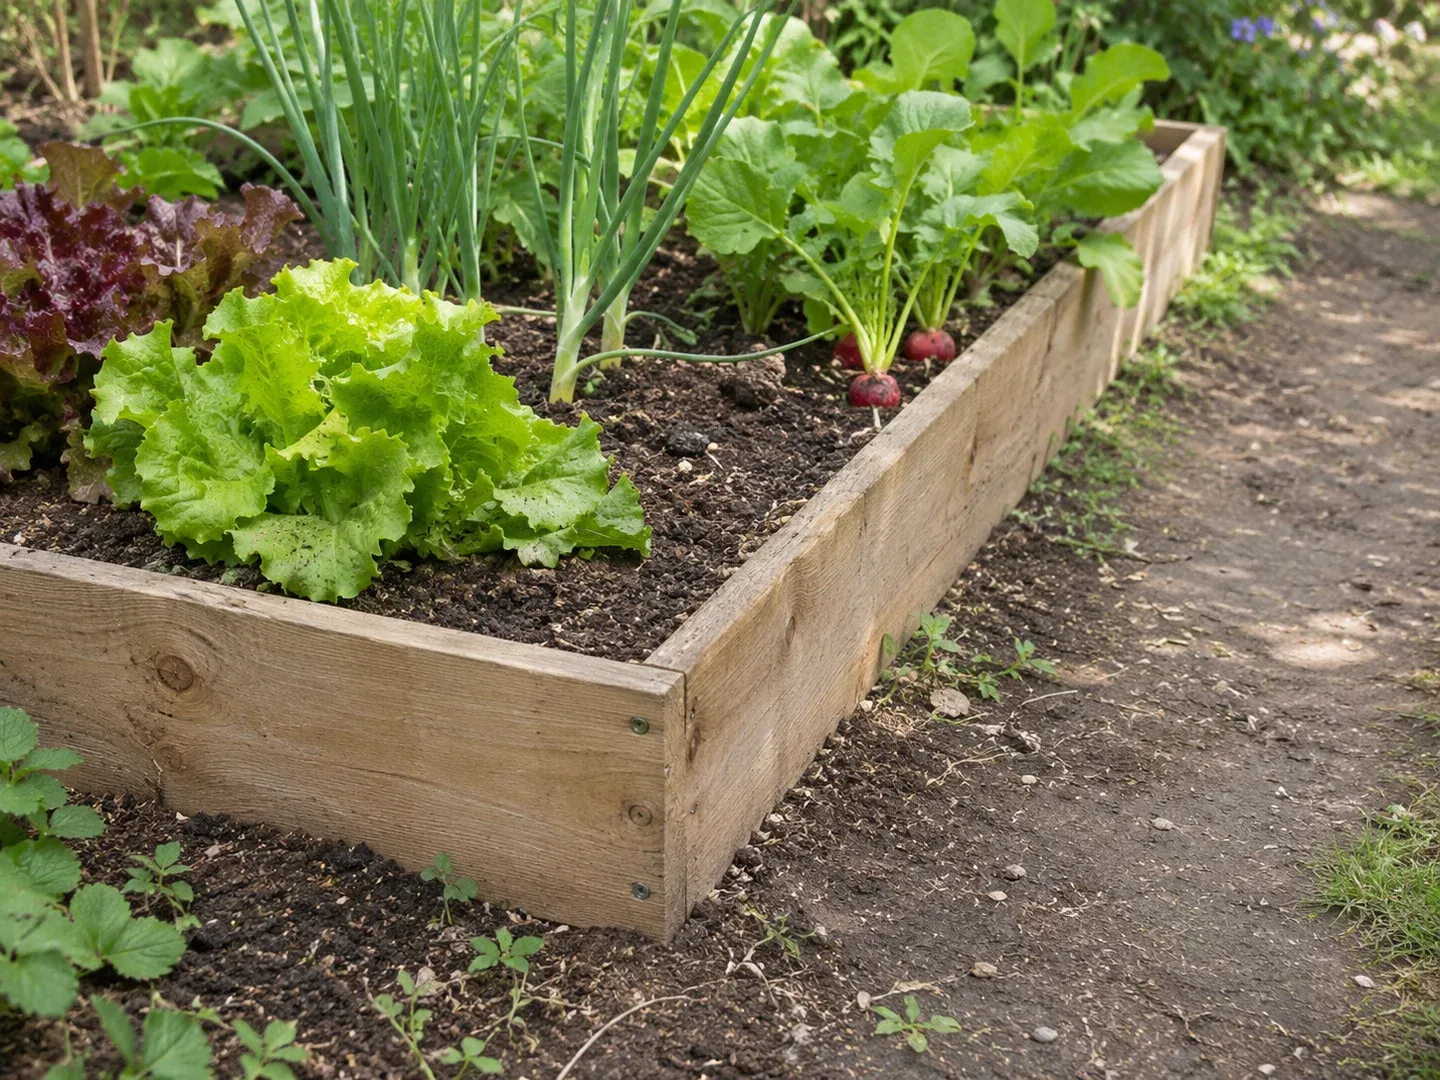
The bed defines a growing area that you maintain from the edges. It can remain at ground level or be raised. The RHS notes that a no-dig bed also works at ground level; raising it may be useful in heavy, poorly drained soil. A high border is therefore not a mandatory step.
A square shape alone does not constitute permaculture. The Agroecology Dictionary describes an integrated approach, adapted to the environment and including ethical dimensions. A square bed can fit into this, depending on the available space and chosen crops.
Choose the location before the dimensions
Observe the sun and shadows at different times of the day. Most vegetables prefer a sunny location; lettuces and spinach tolerate more shade than fruiting crops. The RHS also advises shelter from strong winds and a location away from large trees and hedges, which compete with vegetables for water and nutrients.
On your vegetable garden plan, trace the path to the water source and the paths around the bed. For wheelchair use, Thrive recommends a firm, even, non-slip path with enough space to turn. Check this path with the equipment you actually use.
What width and height should you choose?
The right width allows you to reach the cultivated area without stepping into it. Test the movement at the intended height, standing or seated: you should be able to sow in the middle as well as harvest near the edge.
As an accessible design reference, Thrive suggests up to 1 metre in width with access from both sides, or 50 cm if only one side is accessible. These are guidelines to adjust to your reach and comfort. A wide border can also put the crops further out of reach.
Test the height as well. If you garden seated, allow enough room to move your seat into position and enough legroom; a bed on legs that you can approach from the front may be more suitable than one with a solid vertical side. A comfortable height alone, however, does not indicate the available soil depth for roots.
Check beneath the bed before filling it
An open frame on cultivable soil allows roots to explore the soil below. A bed placed on a slab does not have this reserve. The University of Maryland distinguishes these situations and adapts the filling to the initial state of the ground.
- On already cultivable soil: assess what is missing before buying enough to fill the entire volume.
- On compacted or poorly drained soil: examine the soil beneath the frame; the border does not replace this diagnosis.
- On an impermeable surface: check water drainage and allow enough growing depth for the chosen vegetables. Roots will depend on the volume contained in the bed.
There is therefore no single filling recipe applicable to these three cases. Ask for details of the origin and composition of the materials used. For the structure, choose materials documented for the intended use; avoid reclaimed materials with unknown treatments. The joints and fixings are part of a separate construction project.
Two filling approaches
Frame over existing garden soil suitable for growing. First, check the soil beneath its entire footprint: it must remain accessible to roots. Remove weeds, then assess the need for mature garden compost rather than replacing all the soil. The University of Maryland describes mixing it into the surface layer in this case; if you choose no-dig management, the RHS leaves the compost on the surface instead. Choose a consistent approach, considering previous additions, without combining both methods.
Bed on a slab. Before any filling, check water outlets and drainage paths; Thrive mentions side openings when the base rests on a hard surface. Maryland suggests for this case a mix of garden compost and potting compost without mineral soil in equal parts by volume. Its depth guideline is approximately 20 cm for leafy vegetables, versus 30 to 60 cm for tomatoes, peppers, and squash: these are reference points from its guide, to be compared with the chosen crops and bed, not a universal bed height.
On a slab, the weight of the moist growing medium bears on the supporting surface, and roots depend entirely on the bed. Confirm the permissible load of a terrace if unknown, then regularly check moisture and drainage. A stack of wood, fresh waste, and soil does not replace the growing mix described here.
Distribute vegetables without a universal grid
Choose a few crops suited to your situation, then consult the variety’s guidelines. The SNHF emphasises selection based on region, soil, and season, as well as proper sowing density. Seed packets provide useful reference points.
Draw the locations based on these guidelines. String dividing the bed into sections helps you locate each planting; it does not fix the number of plants to grow. Record for each crop the variety, chosen spacing, and space required for its cultivation. If the plan does not fit, reduce the number of plants or choose another crop.
Example: heading lettuces in a 1 m by 1 m inner square. The RHS recommends about 30 cm between large heading lettuces. On the drawing, place the centres at 20, 50, and 80 cm from one edge, then do the same in the other direction: you get nine positions spaced 30 cm apart, with a 20 cm margin to the edges. Check that the stated mature size of your plants and the space needed to reach them still fit the layout. If the variety requires different spacing, redraw the plan; this layout does not apply to all salad crops or cabbages. To continue cultivation, refer to the lettuce guide.
Also leave space on your sketch for future harvests and plantings. When an area becomes free, decide whether the season and the new crop’s needs allow another planting; you do not have to refill every section immediately.
Monitor water and adjust the plan
The RHS recommends checking moisture in the root zone rather than just wetting the surface. Needs change with the vegetable, its stage, and the soil; freshly sown seeds and young plants require consistent moisture. A bed on a slab deserves special attention, as its roots cannot access the soil beneath, as noted by the University of Maryland.
Consult the watering guide to decide when to intervene and the mulching guide before covering the soil. Note areas difficult to reach, overcrowded crops, and observed water needs. These observations will help correct the next plan.
Sources and references
- PermacultureAgroecology Dictionary, Jean-Pierre Sarthou Accessed on 16 October 2026.
- Positioning vegetablesRoyal Horticultural Society (RHS), in English Accessed on 16 October 2026.
- Gardening in raised bedsThrive, in English Accessed on 16 October 2026.
- No-dig gardeningRoyal Horticultural Society (RHS), in English Accessed on 16 October 2026.
- Growing Vegetables in Raised BedsUniversity of Maryland Extension, Jon Traunfeld, March 2026 revision, in English Accessed on 16 October 2026.
- Seed and sowing: mastering the principles of successful sowingSociété Nationale d’Horticulture de France, Dominique Daviot and Philippe Monchaux Accessed on 16 October 2026.
- Watering vegetables and fruitRoyal Horticultural Society (RHS), in English Accessed on 16 October 2026.
- How to grow lettucesRoyal Horticultural Society Accessed on 8 November 2026.