
The vegetable garden notebook / Crops
Growing celery: sowing, caring for the stalks and harvesting
Stalk celery requires steady growth and consistently moist soil. First, select a green, self-blanching, or traditional type: this choice determines end-of-season practices and harvest timing.
Adapt this guidance to your garden’s climate and conditions.
Choosing celery for its stalks
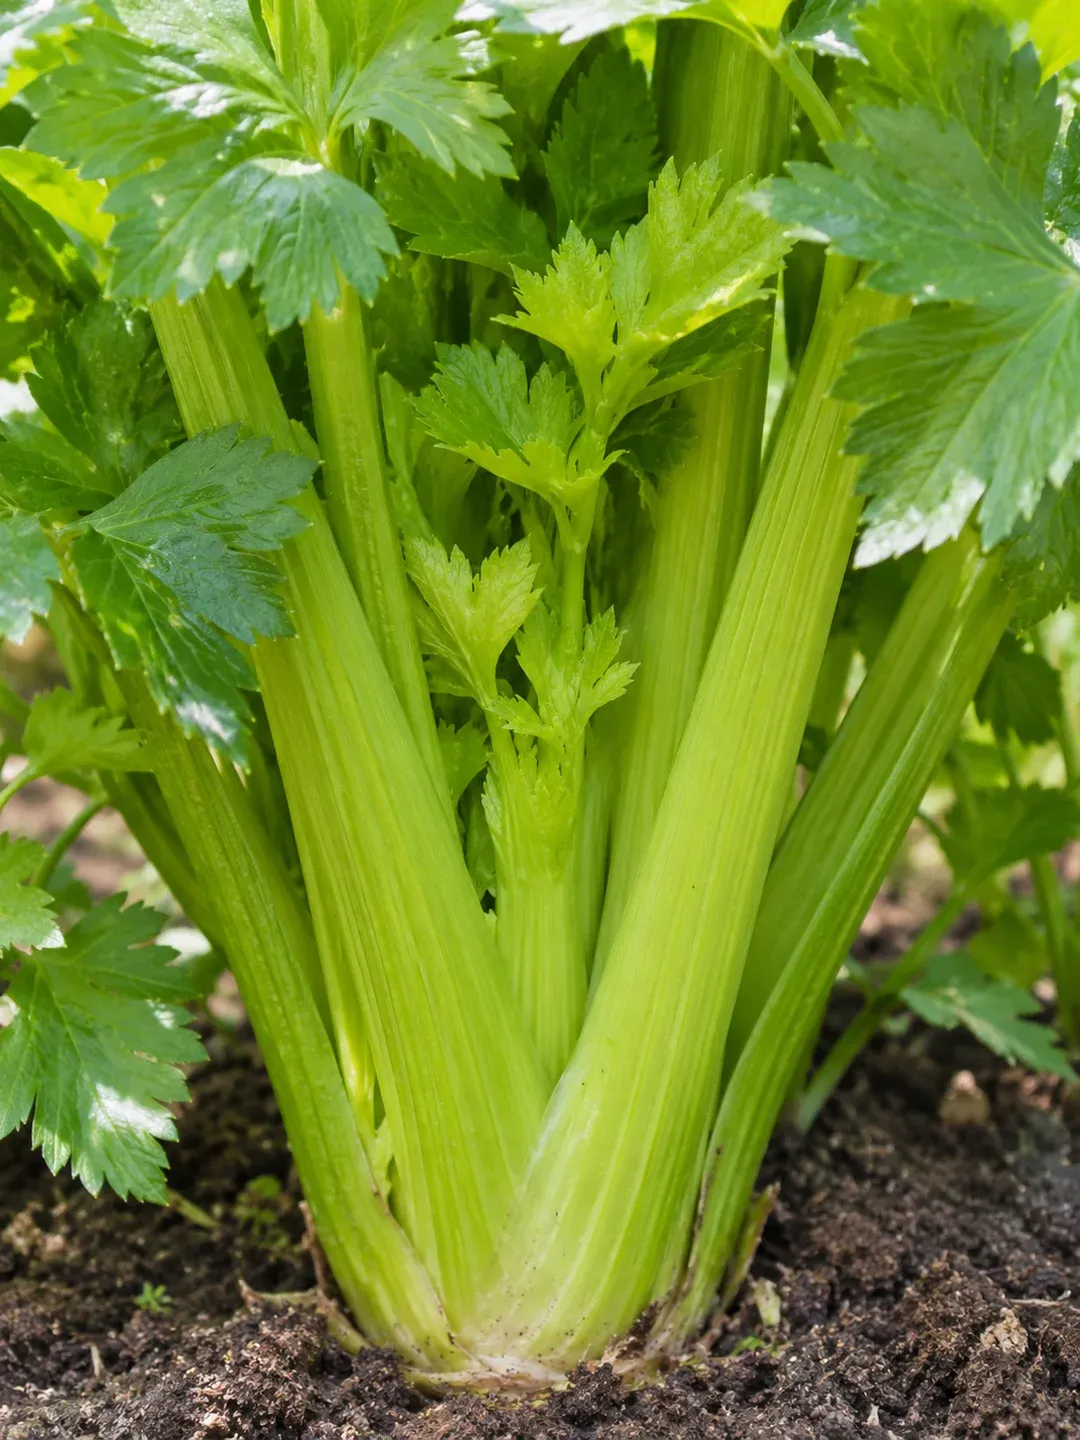
Stalk celery (Apium graveolens var. dulce) is selected for its fleshy petioles, called stalks. Celeriac and cutting celery belong to the same species but serve different purposes; lovage (Levisticum officinale), sometimes sold as perpetual celery, is a different species. Verify the type on the label, advises the SNHF.
To start, look for a green or self-blanching variety, with a season and bolting tolerance suited to your cultivation method. Traditional varieties requiring blanching need light exclusion around the stalks. A green variety can be eaten unblanched: blanching is not required for every type. The RHS distinguishes these three methods.
Sowing in spring, planting out well-developed seedlings
For stalk celery in France, the SNHF places sowing in trays from mid-April to early June, followed by initial pricking out into a nursery bed at the three-leaf stage and final planting at six to eight leaves. Adjust this window to the variety and local growing season length; late sowings have less time to mature. Purchasing a few identified plants is another option.
Sow thinly on fine, moist potting compost: the seeds are very small and must not be buried deeply. The RHS places them on the surface, possibly under a very light layer of sifted potting compost, at at least 15 °C for germination. They require light to germinate. Seedlings may take three weeks to emerge. Maintain moisture without waterlogging and keep seedlings well-lit; the sowing guide helps you prepare for this early stage.
Young plants are sensitive to cold, which can trigger premature flowering. Acclimatise them gradually and wait until the end of frosts and sufficiently mild weather to plant them out. A plant with the correct number of leaves is not necessarily ready to withstand any temperature. The RHS advises keeping young plants above 10 °C: an unheated greenhouse does not always meet this condition.
Preparing the site, in the ground or in containers
Choose loose, humus-rich, and moist soil in full sun. Incorporate well-decomposed garden compost according to soil condition. In rows, maintain 20 to 30 cm between plants and 40 cm between rows, as recommended by the SNHF, adjusting for varietal vigour. Water at planting.
Growing in large containers is possible, notes the RHS, but the potting compost dries out quickly. Ensure a sunny, sheltered location and regular access to water; a small planter exposed to drying conditions makes this crop difficult to grow. Allow space around each plant and avoid stagnant water.
To assess an existing container, measure the usable space actually filled with potting compost. The RHS maintains 23 cm between plants in containers, using peat-free multipurpose potting compost; this measurement refers to the distance between centres, not the minimum width or depth of an individual pot. Therefore, check root space and the variety’s stated size separately. RHS
Maintaining steady growth
Monitor soil moisture, particularly during hot periods. Lack of water can result in thin, fibrous stalks; adding fertiliser does not correct this deficiency. Mulch while keeping the base of the stalks clear and weed gently around the plants. On soil enriched before planting, the RHS generally does not recommend additional systematic feeding. In pots, adjust nutrition based on the potting compost used and product instructions, without indiscriminately applying fertiliser. RHS
For varieties requiring blanching, an opaque sleeve around the stalks is an option described by the RHS when the plant reaches about 30 cm; leave the top third of the foliage exposed to light. Traditional earthing up is another method, intended for varieties suited to that method. This end-of-season practice does not replace the water or growth needed for stalk formation.
Monitoring blanching until harvest
Place the sleeve on a well-developed plant, then keep the top third and heart accessible for observation: check for damaged leaves, slugs, or early signs of rot, without squeezing or burying the foliage. Blanching excludes light around the stalks; it does not justify keeping the entire plant in a damp enclosure. Checking the heart and watching for damp conditions helps you spot the problems described by the SNHF. SNHF
The RHS recommends fitting the sleeve a few weeks before harvest and bases harvest timing on desired size, before the stalks toughen or turn yellow. The SNHF separately describes a method of tying leaves and earthing up fifteen days before harvest: do not automatically transfer this timeframe to all sleeves and varieties. Do not wait for each stalk to turn white before harvesting a green type; consult the end-of-season criteria below. RHS · SNHF
Distinguishing stress, disease, and pests
Tough stalks suggest examining the plant’s age and drought episodes. A flower stalk indicates bolting: celery is biennial, but cold exposure when young can trigger this stage early. Do not expect a bolted plant to regain the tenderness of a new plant. SNHF, RHS
Brown spots with small black dots, especially on older leaves that dry out, point to septoria leaf spot. Yellowing alone is not sufficient for diagnosis. Monitor progression, remove affected parts, and avoid overhead watering that keeps foliage damp for long periods, particularly in the evening. Jardiner Autrement
Also check for slugs in the plant heart and leaf mines if celery leaf miner is suspected. Photograph the damage and organisms present before choosing an action; not all damaged leaves share the same cause. SNHF
Harvesting and planning the end of the season
Harvest when stalks reach the desired size, before they toughen and foliage yellows. You can pull up plants as needed; consume them quickly to enjoy their texture. The RHS recommends completing the harvest of frost-sensitive green and self-blanching types before frosts. Traditional types may allow a later harvest, with protection depending on the variety and climate.
Reserve space in the vegetable plot for an extended period. The SNHF advises three to four years before returning celery to the same location; alternating stalk celery and celeriac does not fulfil this rotation. When planning an intervening crop, focus on the space it needs and its harvest date, without relying on a neighbour to protect celery plants. Review the principles of crop rotation.
Key points for this crop
Practical guidance
- Part harvested
- The fleshy stalks and leaves
- Site
- Sunny, fertile, and moist, with no stagnant water
- Spacing in rows
- 20 to 30 cm between plants, 40 cm between rows
- Main risks
- Cold stress in young plants and lack of water
Sources and references
- Celery, celeriac, cutting celery and lovageFrench National Horticultural Society (SNHF) Accessed on 18 October 2026.
- How to grow celeryRoyal Horticultural Society (RHS), in English Accessed on 18 October 2026.
- Celery – Septoria leaf spotJardiner Autrement, SNHF Accessed on 18 October 2026.