The vegetable garden notebook / Techniques
Free Mulching: Using Your Garden’s Resources
Mulching without purchasing starts with what your garden actually provides. Sorting, drying, transporting and sometimes shredding take time: choose an area suited to your resources.
Adapt this guidance to your garden’s climate and conditions.
Practical steps
- Inventory
Identify available materials and the area you wish to cover.
- Sort
Check the origin, any treatments applied, seeds and signs of disease.
- Prepare
Allow grass clippings to dry and set aside materials according to their use.
- Distribute
Mulch an area suited to your stock, keeping the mulch on the surface and the plants uncovered.
Start with what you already have
Survey the garden before seeking a delivery. Note the material, its condition and the quantity actually available. An occasional mowing does not provide the same stock as a hedge to prune or trees shedding their leaves.
| Resource | Practical decision |
|---|---|
| Grass clippings | Keep usable clippings after verifying treatments; allow them to dry before application. University of Minnesota |
| Fallen leaves | Leaves from the garden can cover the soil directly or be set aside to decompose. SNHF, RHS |
| Soft plant material | Retain healthy debris without seeds; allow water-rich materials to dry. ADEME |
| Small prunings and shredded material | Woody materials are suitable for long-lasting coverage of paths and beds; their preparation depends on available tools. RHS |
For a few fine branches, the RHS suggests cutting them into pieces and placing them under hedges or in beds. A shredder is therefore not a mandatory prior purchase. If you use one, follow its instructions and capacity guidelines.
Reject material of unknown origin
Ask which plants the material comes from and what treatments it has received. For clippings from a lawn recently treated against broadleaf weeds, the University of Minnesota advises against mulching and refers to label restrictions. Drying does not replace this verification; do not set your own waiting period.
Discard seed-bearing weeds and, for this initial sorting, visibly diseased debris. The ADEME highlights the risk of reusing the latter near plants of the same species or family. A simple storage pile does not constitute disinfection.
Stick to identified materials: do not use wood of unknown origin, treated or plastic-coated cardboard. Do not collect anything from a forest, public space or private property without the owner’s or manager’s consent and compliance with local regulations.
Prepare and store without piling everything together
Plan separate spaces for materials to dry, leaves in reserve and branches to prepare. This separation helps keep track of their origin and intended use.
For grass clippings, the goal is to avoid a damp, compact mass. The successive layers recommended by Jardins de France allow each layer to dry; a layer that is too thick may ferment. The ADEME also advises against storing fresh plant material. Do not empty several mower bins into a single pile intended for later use.
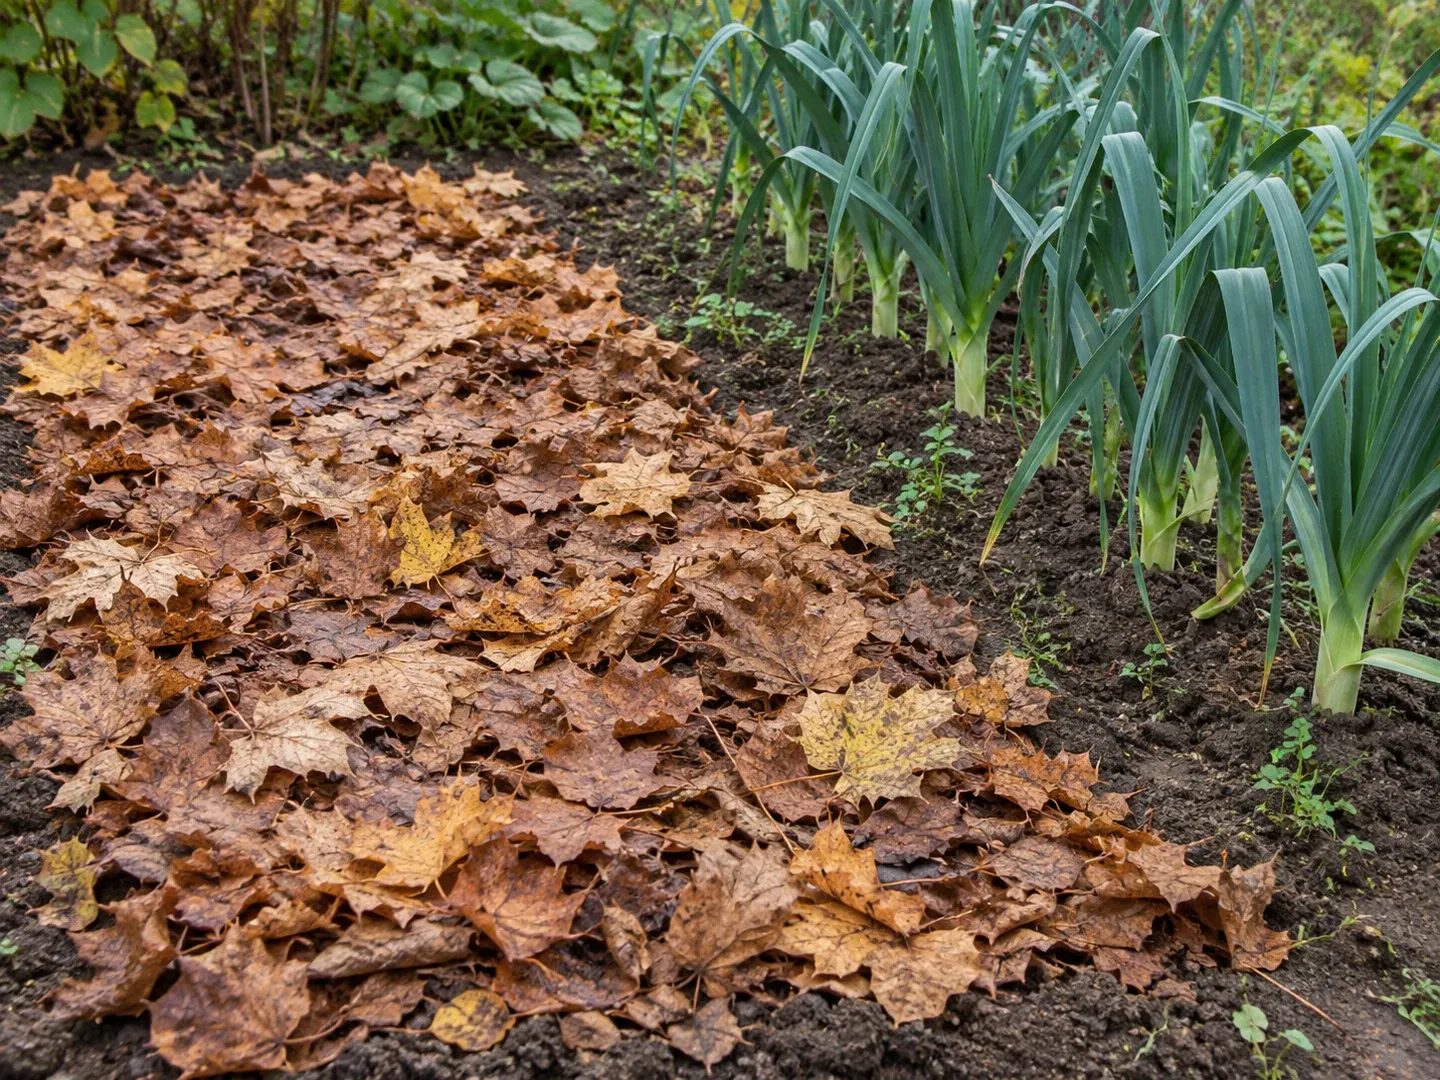
For leaves, a wind-sheltered wire-mesh enclosure can serve as a reserve where they will decompose. The RHS recommends keeping this pile moist and notes that weeds may establish and produce seeds. Inspect the reserve before use. This moisture, useful for leaf decomposition, should not be confused with storing fresh clippings.
For branches, separate what can be cut by hand from what requires a shredder. Account for preparation time and any potential rental costs in your vegetable garden budget. “Free material” does not mean “cost-free project”.
Adapt the area to the usable stock
First, choose a small area that is easy to work on. In the vegetable garden, the cover must be removable for sowing or transplanting, as noted by Jardins de France. Reserving durable shredded material for paths or beds frees up more easily moved materials for cultivated rows.
There is no standard thickness for leaves, clippings and wood pieces. Do not spread a large quantity of clippings to meet a benchmark intended for another material. The general mulching guide details soil preparation and application differences.
Before spreading your stored material, weed, keep the base of plants clear and keep materials on the surface. Keep them away from rows to be sown: they may hinder seedling emergence. These precautions are described by Jardiner Autrement.
Measure a trial before extending the cover
Choose one prepared and sorted material, then mark out a small measured area, for example 1 m². Apply it at the thickness suited to this material, according to the mulching guide, and note both the thickness and the number of buckets used. Measure with the same bucket, filled in the same way, without compacting the stock more than in the trial.
If one bucket covers this trial area, three similar buckets allow you to plan for three times this area in the same condition and at the same thickness. This is a project estimate: drying, settling and decomposition will alter the layer. It never justifies applying the thickness intended for leaves or shredded material to clippings.
For example, prioritise suitable soft material for a bed of established vegetables, where you still need access to the plants. Reserve durable shredded material for paths or beds; if you have too little soft material, reduce the length covered rather than thickening a mass of fresh clippings. Continue to let each layer of clippings dry before adding the next and avoid a build-up that could ferment.
If the reserve is insufficient
Reduce the area of the initial trial or wait for a new suitable resource. Any potential donation must be confirmed before organising the project: quantity, origin, condition, collection terms and transport.
Keep a simple record of materials applied and their location. On your next visit, check what has settled or decomposed before deciding on additional coverage; do not aim to use the entire reserve on the same bed.
Sources and references
- How to mulchADEME Accessed on 16 October 2026.
- Mulching garden bedsJardins de France, SNHF; D. Veschambre and Fabien Robert, Astredhor Accessed on 16 October 2026.
- What to do with lawn clippingsUniversity of Minnesota Extension, in English Accessed on 16 October 2026.
- LeafmouldRoyal Horticultural Society, in English Accessed on 16 October 2026.
- Woody waste: shredding and compostingRoyal Horticultural Society, in English Accessed on 16 October 2026.
- The effects of mulching in the gardenJardiner Autrement, SNHF Accessed on 16 October 2026.