The vegetable garden notebook / Techniques
Growing Microgreens: Seeds, Light, and Harvest
Microgreens are harvested young, above the substrate. Start with an identified species and a small tray to observe emergence, moisture and light before growing more batches.
Adapt this guidance to your garden’s climate and conditions.
Practical steps
- Choose
Seeds designated for edible microgreens and identified species
- Set up
Clean tray with drainage holes and pre-moistened growing medium
- Monitor
Moisture without saturation, light after emergence and air circulation
- Harvest
Cut above the substrate with a clean tool
Microgreens, sprouted seeds, or young leaves?
Microgreens are seedlings whose stems and leaves are cut above the substrate around the time the first true leaves appear. They differ from sprouted seeds and young leaves grown for a longer period. Roots, seeds, and substrate are not part of the intended harvest here. Maryland, UConn
Choosing a species and seeds for this purpose
Select a batch designated for edible microgreens, identified by species. Utah lists radish, broccoli, sunflower, and pea, among others. A vegetable edible at maturity does not mean any seedling is suitable for this use: do not improvise with unidentified seeds or treated seed intended for another crop.
Start with one species per tray. Maryland highlights differences in growth rates between species. Utah’s table also distinguishes soaking, duration under cover, and harvest: a pea protocol does not apply to basil. Follow the batch instructions; there is no soaking rule that applies to all species.
Prepare the Tray and Sow Evenly
- Wash the reusable container and prepare a clean workspace. Use a shallow, food-grade tray perforated for drainage.
- Pre-moisten a clean substrate suitable for sowing or a medium designed for this purpose. Utah recommends moisture comparable to a wrung-out sponge.
- Distribute seeds evenly at the sowing density specified for the seed lot, then press them into contact with the substrate without compacting it heavily.
- Label the species and date, and follow the covering instructions specific to the sowing.
These steps are based on Maryland and Utah. A seed tray and its collection tray serve different functions: water must not saturate the roots for long.
First trial: Radish ‘Champion’ following the Utah protocol
To avoid mixing densities from different methods, here is a procedure attributed to Utah State University for radish ‘Champion’ seeds sold for microgreens. It uses a standard 1020 tray, nominally 10 × 20 inches, approximately 25 × 51 cm; measure the usable surface if your model differs. Tray format: Maryland
- Prepare the perforated tray and pre-moistened substrate as above. For this size, Utah’s table specifies 42 g of seeds, with no pre-soaking. Distribute them evenly across the surface.
- The Utah method places a second tray in contact, with a flat weight of 2 to 5 pounds, approximately 0.9 to 2.3 kg for this standard tray. Do not apply this weight to a small, fragile container. It is intended to maintain contact during rooting.
- Observe the roots: when they visibly penetrate the substrate, remove the tray resting on the seeds, turn it upside down and replace it as a cover without touching the seedlings. Utah recommends 1 to 2 days of total cover for this radish, with contact during the first half; rooting signs matter too.
- At the end of this phase, uncover and expose to light. The Utah protocol uses programmed lighting: 18 hours on, 6 hours off. Keep the substrate moist without saturation and ensure gentle air circulation.
- Harvest around the appearance of the first true leaves, using the hygiene practices described below. The table’s protocol estimates harvest at 8 to 12 days; observe the seedlings’ stage to choose the cutting time.
For a different surface area, the proportional calculation is: 42 g × usable surface ÷ reference tray usable surface. This provides a starting point of the same density, not permission to layer seeds; record the result and adjust the next batch according to the batch instructions. Peas and sunflowers have different masses and soaking requirements in Utah’s table: do not apply this radish example to them.
Light, Water and Air: Checks After Emergence
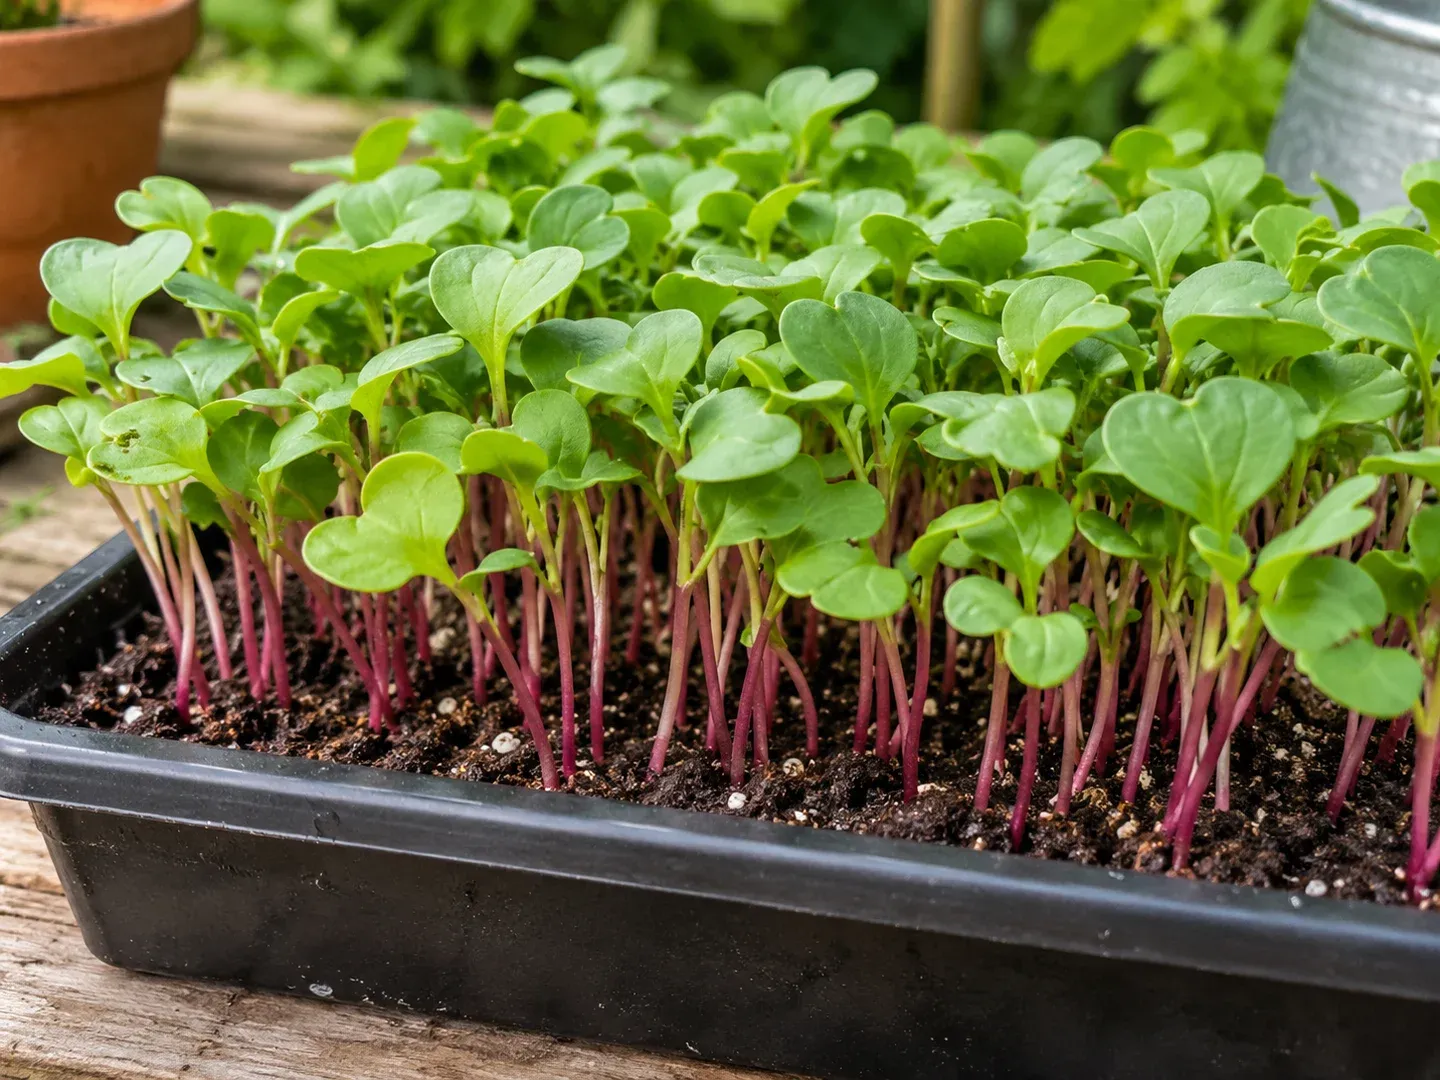
After germination, expose seedlings to sufficient light. A window may provide enough light, but being indoors alone does not ensure a successful winter crop. Maryland describes horticultural lighting as a supplement; the setup depends on equipment and observed conditions.
Keep the substrate moist without waterlogging. Bottom watering allows absorption through the holes; remove excess afterwards. Ventilate covered trays to prevent damp air becoming trapped; do not add fertiliser reflexively for this short cycle. Maryland, Utah
Harvest Cleanly and Start a Fresh Batch
Observe the first true leaves rather than a promised number of days. Cut above the substrate with clean scissors. Rinse with drinking water before consumption and use the harvest quickly; to store briefly, place it in the refrigerator in a clean container. UConn notes the potential risk of contamination: rinsing does not guarantee safety.
Discard any mouldy or spoiled batch. To restart, UConn recommends composting the substrate and roots, washing the tray, and using a clean mix. This crop, harvested very young, is not managed like a mature lettuce intended for multiple cuts. Note changes between trays to adjust water, density, or light.
Sources and references
- Growing Microgreens and Baby Greens IndoorsUniversity of Maryland Extension, Jon Traunfeld, in English Accessed on 18 October 2026.
- Grow Your Own MicrogreensUtah State University Extension, Stephen Beck, in English Accessed on 18 October 2026.
- The Amazing Power of Microgreens: Easy to Grow and a SuperfoodUniversity of Connecticut Extension, Sharon Gray, in English Accessed on 18 October 2026.